denture teeth mould guide
Denture Teeth Mould Guide: A Comprehensive Overview (Updated 01/01/2026)
Removable dentures effectively replace missing teeth, enhancing smiles with natural-looking materials. Snap-in dentures utilize implants for stability, differing from traditional mould-based options.
What are Denture Teeth Moulds?
Denture teeth moulds are crucial representations of a patient’s oral structures, forming the foundation for comfortable and functional dentures. These moulds, initially capturing the gums and bone, evolve into precise replicas. They enable the creation of removable teeth designed to restore smiles and chewing ability.
The process involves several stages, from initial impressions to final, detailed moulds, ensuring a secure and natural fit. Different materials are utilized throughout, impacting accuracy and comfort.
Types of Dentures & Moulding Processes
Complete dentures replace all natural teeth, requiring full arch impressions and meticulous moulding to ensure stability and aesthetics. Partial dentures, conversely, fill gaps, utilizing attachments and focusing on precise fit around existing teeth.
Snap-in dentures, supported by implants, demand a different moulding approach, prioritizing implant placement and denture retention. Each type necessitates unique techniques and materials for optimal results.
Complete Dentures & Their Moulding
Complete denture moulding begins with initial impressions, capturing overall gum architecture. Subsequent custom trays refine accuracy, leading to a final impression detailing all relevant structures. Precise border moulding is crucial for retention.
The process culminates in wax try-ins, evaluating fit and aesthetics before acrylic processing. Careful attention to detail throughout ensures a comfortable, functional, and natural-looking prosthetic.
Partial Dentures & Attachment Options (Moulding Considerations)
Partial denture moulding differs due to existing teeth; impressions must accurately capture remaining dentition and supporting tissues. Attachment options – clasps, precision attachments – influence mould design.
Precise impressions are vital to avoid impinging on healthy teeth or soft tissues. Consideration must be given to stress distribution and occlusal harmony during the moulding and fabrication stages.
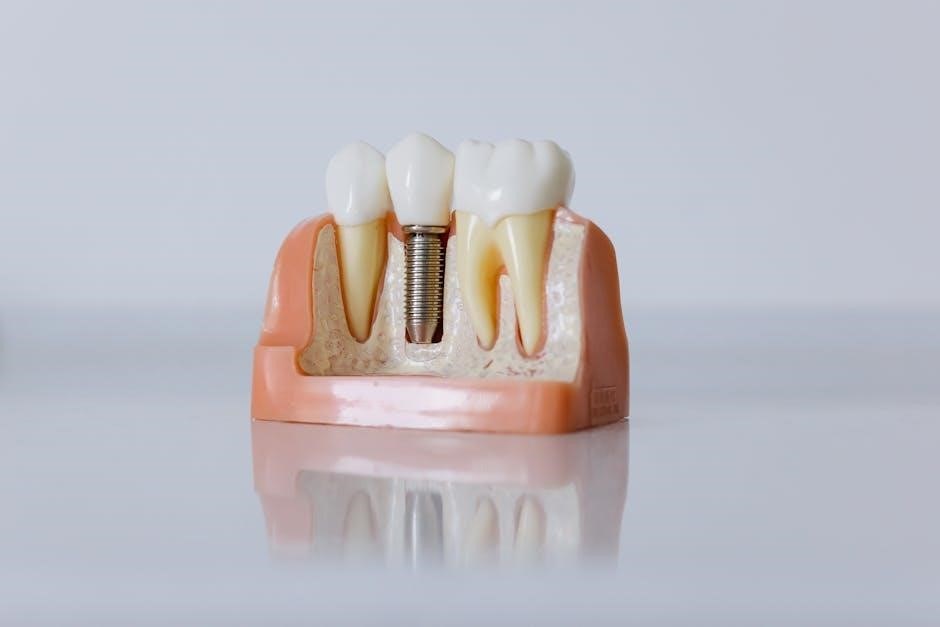
Snap-In Dentures (Implant-Supported) & Moulding Differences
Snap-in dentures, supported by implants, require a different moulding approach than traditional dentures. Impressions focus on capturing implant positions and ensuring a retentive fit over the implants.
The mould must accommodate the implant abutments, allowing for precise denture attachment. Unlike gumline-resting dentures, these prioritize stability and minimize bone resorption, impacting long-term mould design.
The Initial Consultation & Examination
The first step involves a thorough assessment of your oral health, including gum tissue and underlying bone structure. This examination determines suitability for dentures and identifies potential challenges.
Discussing tooth replacement options is crucial, outlining the benefits and drawbacks of various denture types. We’ll explore complete, partial, and implant-supported dentures, tailoring a plan to your specific needs and expectations.
Assessing Gum Health & Bone Structure
A healthy foundation is vital for denture success. We meticulously evaluate gum tissue for inflammation, recession, and any signs of disease. Sufficient bone density is also assessed, as it supports the denture and prevents future complications.
Bone loss can impact denture fit and stability, potentially requiring bone grafting procedures before denture fabrication. Thorough assessment ensures optimal outcomes and long-term denture wearability.
Discussing Tooth Replacement Options
We explore all possibilities, including complete, partial, and implant-supported dentures (snap-in dentures). Each option has unique benefits and drawbacks regarding cost, stability, and aesthetics.
Understanding your needs and preferences is paramount. We’ll detail the process for each type, explaining how moulds are used to create a custom fit. This collaborative discussion ensures you choose the best solution for a confident smile.
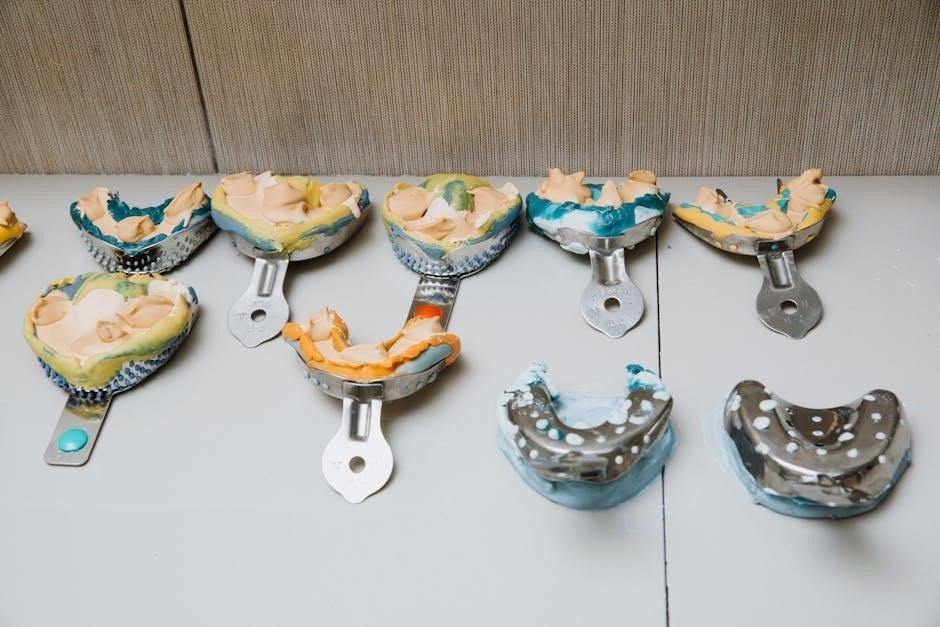
Taking the Impression: The First Mould
The initial impression is crucial for capturing the precise shape of your gums and jaw. We utilize materials like alginate, a putty-like substance, to create this first mould.
This step-by-step process involves carefully placing the material into a tray and positioning it within your mouth. It records the foundational data needed for subsequent, more detailed moulds and ultimately, your comfortable, well-fitting dentures.
Materials Used for Initial Impressions (Alginate, etc.)
Alginate remains a popular choice for initial impressions due to its affordability and ease of use. It’s a powder mixed with water, creating a smooth, adaptable paste. Other materials, though less common for the first step, include agar-agar and impression plaster.
These materials quickly set within the mouth, accurately capturing the soft and hard tissue structures before more precise materials are employed;
The Impression Process: Step-by-Step
Firstly, the chosen impression material is carefully mixed to the correct consistency. Secondly, a stock tray is loaded with the material and gently seated in the patient’s mouth. Thirdly, the patient is instructed to close softly, allowing the material to capture the dental ridge details.
Finally, the impression is removed and disinfected, ready for pouring with dental stone.
Creating a Custom Tray: A Precise Mould
Custom trays are vital for accurate denture impressions, unlike generic stock trays. They adapt perfectly to individual mouth anatomy, ensuring detailed border extension and stability during the impression process. Typically, they’re fabricated from acrylic resin, based on the initial impression.
This results in a significantly improved fit and reduced distortion, crucial for successful denture fabrication.
Why Custom Trays are Essential
Stock trays often lack the necessary adaptation to unique oral structures, leading to inaccurate impressions and potential denture instability. Custom trays, however, provide a snug, intimate fit, capturing precise details of the soft and hard tissues.
This enhanced accuracy minimizes distortion and ensures a comfortable, retentive denture base, ultimately improving patient satisfaction and long-term denture success.
Materials Used for Custom Trays (Acrylic, etc.)
Acrylic resin is a frequently used material for fabricating custom trays due to its ease of manipulation and cost-effectiveness. Polyethylene terephthalate glycol-modified (PETG) offers superior durability and resistance to distortion, ideal for complex cases.
Additionally, specialized acrylics with enhanced properties are available, ensuring optimal tray rigidity and dimensional stability throughout the impression process.
The Final Impression: Capturing Detail
Vinyl polysiloxane (VPS) and polyvinyl siloxane (PVS) are premier impression materials, renowned for their exceptional accuracy and detail reproduction. These materials exhibit minimal shrinkage, crucial for precise denture fabrication.
Careful attention to border moulding techniques ensures complete capture of the oral tissues, preventing inaccuracies and ensuring a comfortable, retentive denture fit.
Using Impression Materials (VPS, PVS)
Vinyl polysiloxane (VPS) and polyvinyl siloxane (PVS) offer superior dimensional stability compared to older materials like alginate. Their hydrophobicity ensures excellent wettability, flowing easily into tissue undercuts.
Proper mixing ratios and adequate working/setting times are vital for optimal results. These materials require careful handling to avoid voids or distortions, guaranteeing a precise negative replica.
Techniques for Accurate Border Moulding
Accurate border moulding is crucial for denture retention and stability, capturing the full extent of the sulcus. Functional movements, like asking the patient to swallow or move their tongue, help define these limits.
Dynamic impression techniques, involving tray manipulation, ensure tissues are recorded at their functional rest position. This prevents overextension or compression, leading to a comfortable and secure fit.
Bite Registration: Establishing Jaw Relationship
Accurate bite registration is paramount for functional dentures, determining how the upper and lower teeth meet. This step establishes proper jaw alignment, impacting chewing efficiency and facial aesthetics.
Methods like wax rims allow dentists to visualize and adjust the bite, ensuring correct vertical dimension and centric relation. Precise registration minimizes strain on jaw muscles and temporomandibular joints.
Importance of Accurate Bite Registration
Precise bite registration directly influences denture stability, comfort, and long-term success. An inaccurate bite can lead to sore spots, difficulty chewing, and even temporomandibular joint (TMJ) issues.
Establishing the correct vertical dimension prevents excessive pressure on gums and bone. Proper centric relation ensures balanced forces, minimizing stress and maximizing denture function for a natural, comfortable experience.
Methods for Bite Registration (Wax Rims, etc.)
Wax rims are frequently used to establish the initial bite plane, allowing for adjustments based on patient feedback and clinical observation. These rims simulate the future teeth’s height and width.
Other techniques include interocclusal records using wax or impression materials, capturing the relationship between upper and lower arches. Accurate records are vital for transferring the bite to the dental laboratory.
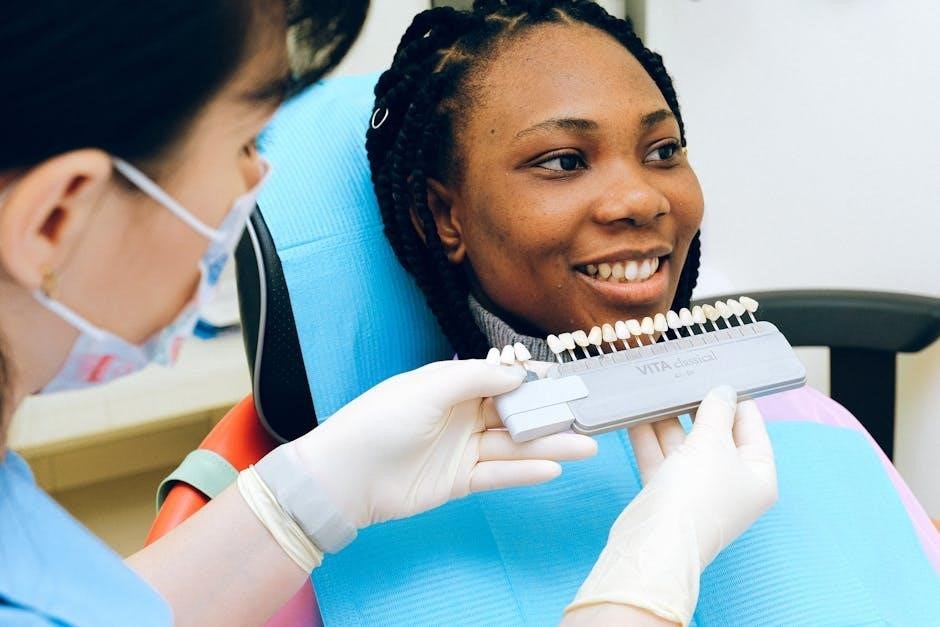
Teeth Selection & Arrangement
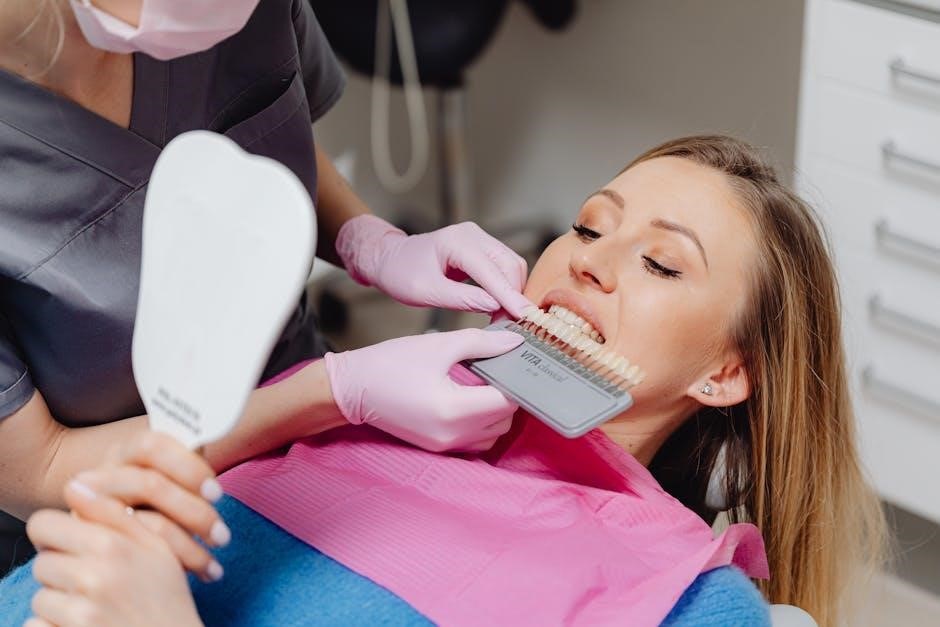
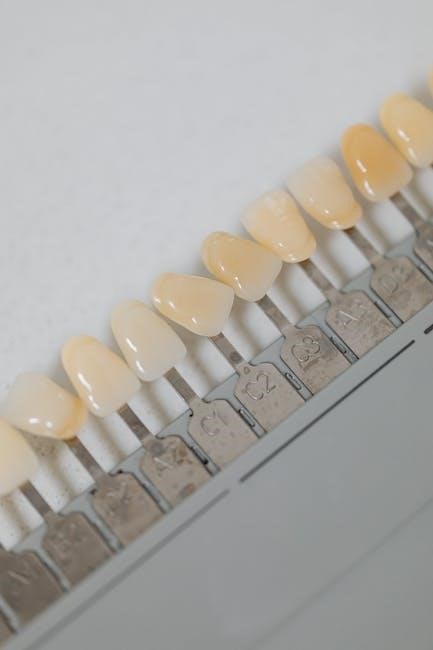
Choosing the right shade and shape is crucial for a natural-looking smile, considering the patient’s complexion and existing teeth. Denture teeth come in various materials and aesthetics.
Arranging teeth isn’t just about appearance; it’s about function. Proper arrangement supports chewing efficiency and speech clarity, mimicking natural dental anatomy for optimal performance and a harmonious smile.
Choosing the Right Shade & Shape
Selecting the correct shade involves matching the prosthetic teeth to the patient’s existing teeth, gums, and skin tone for a seamless blend. Shape selection considers facial structure and age, opting for shapes that complement the overall aesthetic.
Dentures offer diverse options, from realistic multi-layered shades to varied tooth forms, ensuring a natural and personalized appearance. Careful consideration guarantees a confident, revitalized smile.
Arranging Teeth for Aesthetics & Function
Strategic tooth arrangement is crucial, mimicking natural dental anatomy to restore both a pleasing smile and proper bite function. Aesthetic considerations prioritize lip support and facial harmony, while functional arrangement ensures efficient chewing.
Dentists carefully position teeth, considering occlusal forces and speech clarity, creating dentures that are not only visually appealing but also comfortable and practical for daily use.

Wax Try-In: Evaluating Fit & Appearance
The wax try-in stage is vital for assessing the denture’s fit, bite, and overall aesthetic before final processing. Patients can visualize the prospective outcome, allowing for crucial adjustments to tooth position, lip support, and facial contours.
This step ensures comfort and functionality, verifying the wax-up accurately reflects the desired appearance and bite relationship, preventing costly errors later in the process.
Assessing the Wax-Up & Bite
Careful evaluation of the wax-up determines if the teeth are positioned correctly for aesthetics and function. The bite is checked to ensure proper occlusion, preventing strain on jaw muscles and temporomandibular joints.
Lip support and facial contours are also assessed, ensuring a natural and harmonious appearance. Any discrepancies are noted for adjustments before proceeding to denture processing.
Making Adjustments Before Processing
Adjustments to the wax-up are crucial at this stage, addressing any identified issues with tooth position, bite alignment, or lip support. Minor alterations can significantly improve the final denture’s fit and aesthetics.
Ensuring patient comfort and functionality is paramount; adjustments are made while the denture is still in wax form, allowing for easier modifications before the irreversible acrylic processing.
Denture Processing: From Wax to Acrylic
The wax pattern is carefully invested in flasking material, creating a mould for the acrylic. Flasking involves surrounding the wax-up with a heat-resistant material, preparing it for acrylic injection.
Acrylic resin is then processed and cured under controlled heat and pressure, solidifying within the mould. This transforms the wax form into a durable, functional denture base, ready for finishing.
Investing & Flasking
Investing secures the wax denture pattern within a flask, preparing it for acrylic processing. The flask is then filled with investing material – typically a gypsum-based compound – ensuring complete encasement.
Flasking involves carefully sealing the flask to prevent leakage during acrylic injection. Heat is applied, eliminating the wax and creating a precise mould cavity ready to receive the acrylic resin, forming the denture base.
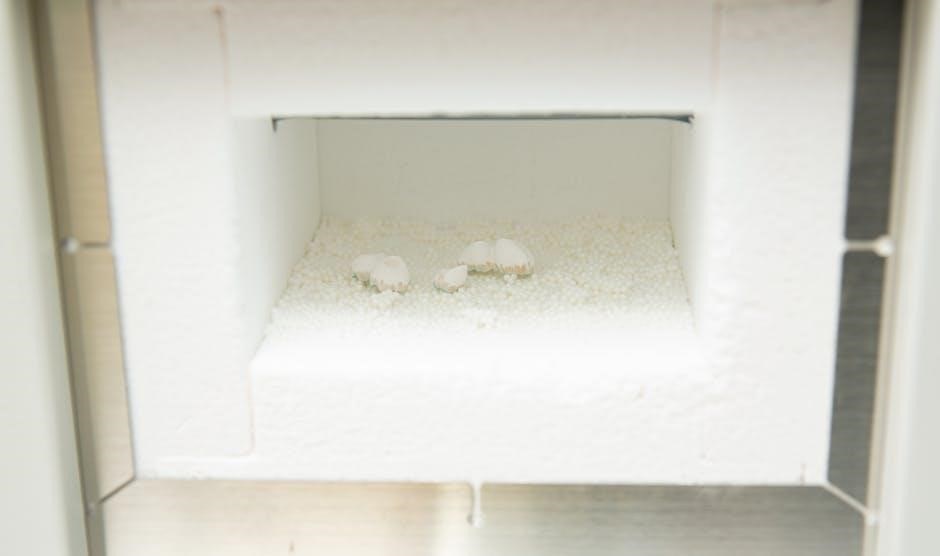
Acrylic Processing & Curing
Acrylic resin, the denture base material, is carefully injected into the flask cavity created during investing and flasking. This liquid acrylic is then subjected to a controlled polymerization process.
Curing involves applying heat and pressure over a specific timeframe, transforming the liquid acrylic into a solid, durable denture base. This process ensures proper adaptation to the mould and optimal physical properties for long-term use.
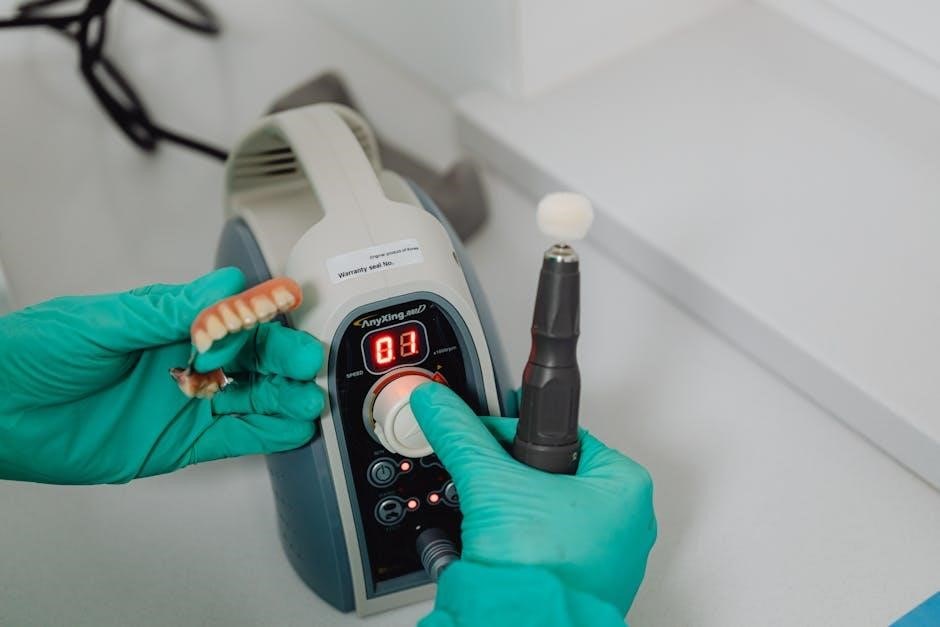
Finishing & Polishing the Denture
Following acrylic curing, excess material is meticulously removed, refining the denture’s overall shape and contours for optimal fit and aesthetics. This stage demands precision to avoid compromising the denture’s integrity.
Polishing then creates a smooth, natural-looking surface, eliminating microscopic irregularities that could harbor bacteria or irritate oral tissues. A high-luster polish enhances the denture’s appearance and patient comfort.
Removing Excess Acrylic & Refining the Shape
After denture processing, significant excess acrylic material surrounds the base and teeth. Careful removal with specialized burs and stones is crucial, shaping the denture to its final anatomical form. This step ensures proper adaptation to the patient’s tissues.
Refining the shape involves smoothing contours and eliminating any sharp edges or irregularities, preventing discomfort and promoting optimal function. Precision is key to a comfortable, natural-feeling fit.
Polishing for a Smooth & Natural Finish
Following shape refinement, polishing is essential for a smooth, aesthetically pleasing denture surface. Utilizing a series of abrasive compounds and polishing wheels, the acrylic is buffed to a high luster.
This process removes microscopic scratches and imperfections, creating a natural tooth-like appearance and inhibiting bacterial adhesion. A polished denture is easier to clean and maintains long-term hygiene.
Denture Delivery & Adjustments
Upon delivery, a thorough assessment of fit and comfort is paramount. Patients try the dentures, and the dentist checks for stability, proper bite alignment, and any potential pressure points.
Post-delivery adjustments are often necessary to alleviate minor discomfort or address areas of irritation. Relines, adjustments to the denture base, ensure a secure and comfortable fit over time.
Checking Fit & Comfort
Initial fit evaluation involves assessing denture stability during speech and swallowing. Dentists examine how the dentures interact with oral tissues, identifying any areas of pressure or movement.
Patient feedback is crucial; any discomfort, soreness, or difficulty chewing is carefully noted. A proper fit minimizes irritation and maximizes chewing efficiency, ensuring a positive experience.
Post-Delivery Adjustments & Relines
Minor adjustments are often needed after initial delivery to alleviate sore spots or uneven pressure. These tweaks refine the denture’s fit, enhancing comfort and function over time.
Denture relines address changes in the mouth’s anatomy, restoring a snug fit as gums and bone naturally remodel. Regular check-ups and relines maintain optimal denture performance and patient satisfaction.
Denture Care & Maintenance
Daily cleaning is crucial for denture longevity and oral health; specialized products remove food debris and prevent staining. Proper hygiene minimizes bacteria growth, reducing the risk of odour and potential health concerns.
Regular inspections for cracks or damage are essential, alongside overnight soaking in a denture-cleansing solution. Consistent care ensures a comfortable fit and a fresh, natural appearance.
Daily Cleaning Procedures
Remove dentures after each meal and rinse thoroughly under running water to dislodge loose food particles. Brush daily using a soft-bristled brush and a non-abrasive denture cleanser – avoid regular toothpaste, which can damage acrylic.
Soak dentures overnight in a denture-cleansing solution to maintain moisture and kill bacteria. Clean mouth tissues gently with a soft brush before reinserting dentures, promoting overall oral hygiene.
Preventing Bacteria Growth & Odour
Regular cleaning is crucial; bacteria thrive in moist environments, causing odour and potential health concerns. Denture solutions effectively eliminate bacteria, preventing plaque buildup and maintaining freshness. Thorough rinsing after each cleaning removes residual solution and debris.
Store dentures properly when not in use, submerged in water or a cleansing solution, minimizing bacterial colonization. Professional check-ups ensure proper fit and identify potential issues early.
Potential Problems & Troubleshooting
Ill-fitting dentures can cause discomfort, sore spots, and irritation. Adjustments by a dental professional are often necessary to improve the fit and alleviate pressure points. Persistent soreness requires immediate attention to prevent further complications;
Regular check-ups help identify and address issues promptly. Relining may be needed as gums change shape over time, ensuring continued comfort and functionality.
Common Issues with Denture Fit
Initial discomfort is common, but persistent slippage or looseness indicates a fitting problem. Sore spots develop from pressure, requiring adjustments. Changes in gum tissue over time can alter denture fit, leading to instability.
Difficulty chewing or speaking often signals an improper bite or ill-fitting denture. Bone resorption can also affect fit, necessitating relining or replacement.
Addressing Sore Spots & Irritation
Prompt attention to sore spots is crucial; don’t attempt self-adjustment. A dentist can identify pressure points and relieve irritation through adjustments to the denture base. Temporary soft liners can offer relief while permanent changes are made.
Proper cleaning prevents bacterial build-up, reducing inflammation. Regular check-ups ensure continued comfortable fit and address emerging issues before they escalate.